BigBlueButton Session Participation
Participant's guide

Margarita Berezyanskaya
Last Update vor 6 Monaten
BigBlueButton lets students meet their teacher and other students online. You participate by listening, typing, reading and speaking. You can also use a webcam to show your face.
1. Click to open a BigBlueButton activity in your class.

A greeting screen appears:

Note that this session has not yet started. At the starting time, you will see a Join session button.

2. Click on the Join session button. Be patient while the program loads.
An audio pop-up window appears.
3. Click on Microphone.

Another pop-up appears, asking if you allow BBB to use your microphone.
4. Click on Allow.

Note: Other pop-up windows that look different may appear, but they all ask if it is ok to use your computer microphone.
On the Your audio settings pop-up, there are the Microphone source and the Speaker source drop-down menus.

5. Choose Default sources or other options available from the drop-down menus.
6. Speak a few words to test your speakers. If these are set correctly, you will hear your voice played back and see a green bar moving under Audio volume.

7. Click Join audio.

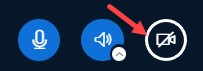
8. Click on the Share webcam icon at the bottom of the screen if your teacher wants you to use your webcam.
A pop-up appears, asking you to allow BBB to use your camera.
9. Click the Allow button.

Your webcam image appears.
10. Choose your webcam settings and click on Start sharing.

You are now inside of your teacher’s BigBlueButton room.
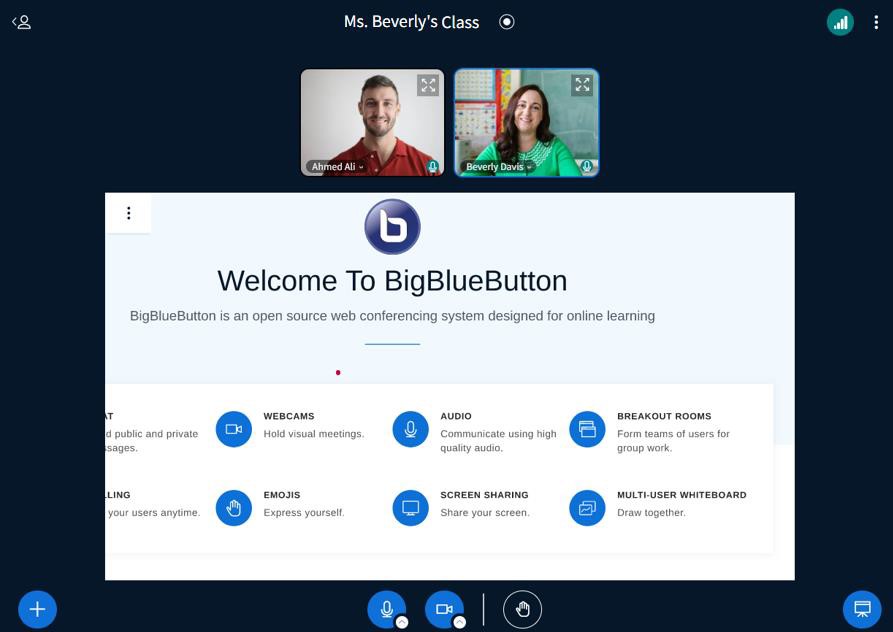
The BigBlueButton Online Room
Your room may look like this. There may be live pictures of your teacher and other students. Your teacher may have your Avenue course open.
Controls
On the screen, at the bottom in the centre, there are microphone and webcam icons. You can click them to turn your audio and video on or off.

Note: The blue colour in the icons above means that they are all on.
When you move your mouse over an icon, it will tell you what clicking on it will do.
For example:

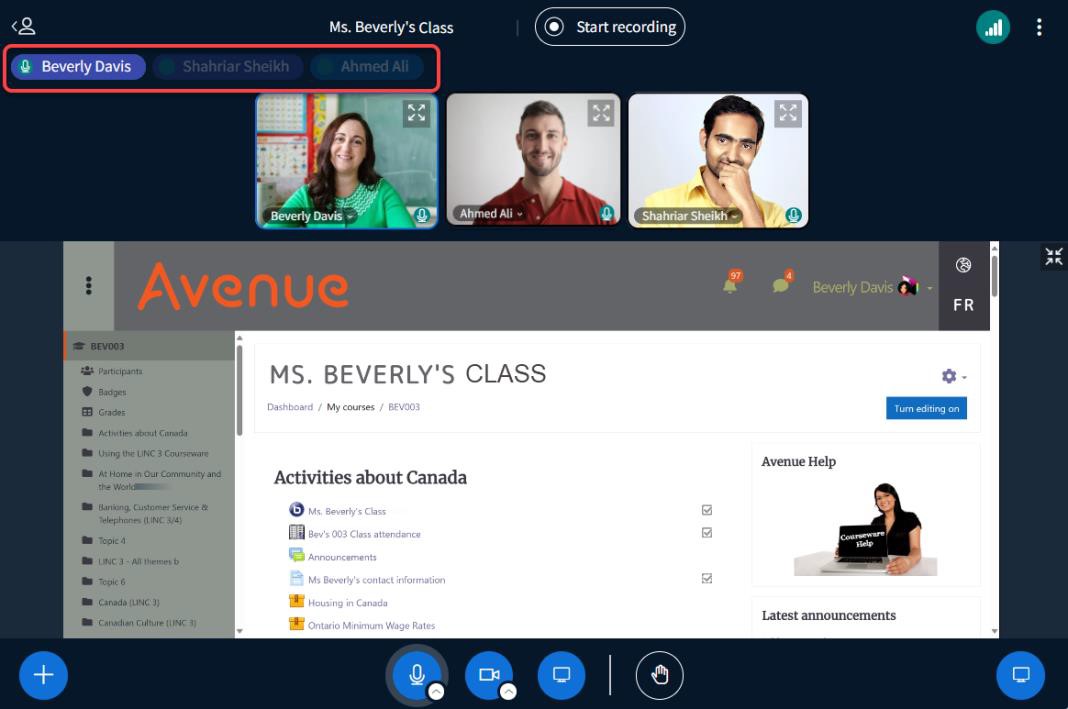
People

If your microphone is on mute, your name will not appear on top of the screen, and the small icon in front of your name will turn red.

During a BigBlueButton Session
Communications Panel
There are three parts to the Communications Panel: Messages, Notes and Users.

1. Messages
Click on Public Chat. This is the place to go to type messages to everyone in the room. (Read more below.)
2. Notes
Click on Shared Notes. This is the place for you and your classmates to type notes that you want to share with each other about what the teacher is saying. (Read more below.)
3. Users
You will see a list of people in the session on the left side of the screen. (Read more below.)
More about Messages
Your name will appear with what you type. Your teacher may ask questions in the chat or put internet links for you in this space. Here is an example of what a chat looks like, and what you can do.

More about Shared Notes
Others in the room can see and add to notes in the Shared Notes area.

When all notes are completed, click on the right hand icon to view save format options.

More about Users
Each person has an icon with the first two letters of their name. There is a smaller icon that shows if their microphone is turned on or if it is muted.

A screen icon at the top of a person's initials means that person is the teacher.

Click on your own name to mute or unmute your microphone or Set yourself as away or active.

At the bottom of the main part of the screen, there is an icon you can click to raise your hand or show other reactions such as like, dislike and a few other emojis.

Click on this button to see the available options.

When you raise your hand or choose another reaction, your user icon changes.
